


Now that the sheet metal floor was rust-free and insulated, the next step was the actual floor. I had already bought two large screen printing plates with the dimensions 3000 x 1500 and a thickness of 15mm.
First it needed a template. This had to fit perfectly before I could transfer it to the two screen printing plates. To do this, I got some giant cardboard from a bike store and drew my floor measurements on it.
I made the long and straight cuts with the big circular saw, everything else with a cutter knife.

After what felt like 20 times cardboard template in the car and out again and re-cutting, then finally everything fit and I transferred it to the floor panels.


Here the hand circular saw and the jigsaw were my machines of choice for the cutting. I made all the straight cuts with the hand saw and the curves with the jigsaw.
In the butt edges I made cutouts with the lamello cutter, so that I could connect both plates, whereby I have glued the lamellos only in one side and the other plate I have only put on it and the cutouts I have made then also a piece larger, so that some play is, if that does not fit then completely perfectly when putting in.


Finally, I measured the rails so that I could mark the drill holes. Pre-drilling, countersinking and then came the big moment ;D

And what can I say. It fit FAST. The recess for the back seat was too small and I had to make it bigger. Again all out?? No. I set the hand circular saw exactly to the panel thickness of 15mm and then re-sawed it again in the car. That worked well and now everything fits.
Screw, clean the floor and done!


I bought the PVC floor at a local dealer, because I wanted to take the material in my hand and feel it. And it was also important to me that it was in one piece, because then no moisture can penetrate into any gaps. It then became an oak wood decor and I got that on a 2m by 3m roll. Perfect.
It was now almost a piece of cake against everything before to lay the PVC floor. The cardboard templates were there of course again super suitable to transfer the dimensions. I made the cuts with a cutter knife.
I then glued it with double-sided tape on the screen printing plates. Especially at the edges it is important that it is well glued. And I had not cut the PVC so exactly and left it larger in some places, so I then cut it in the car with the cutter knife still exactly fit.
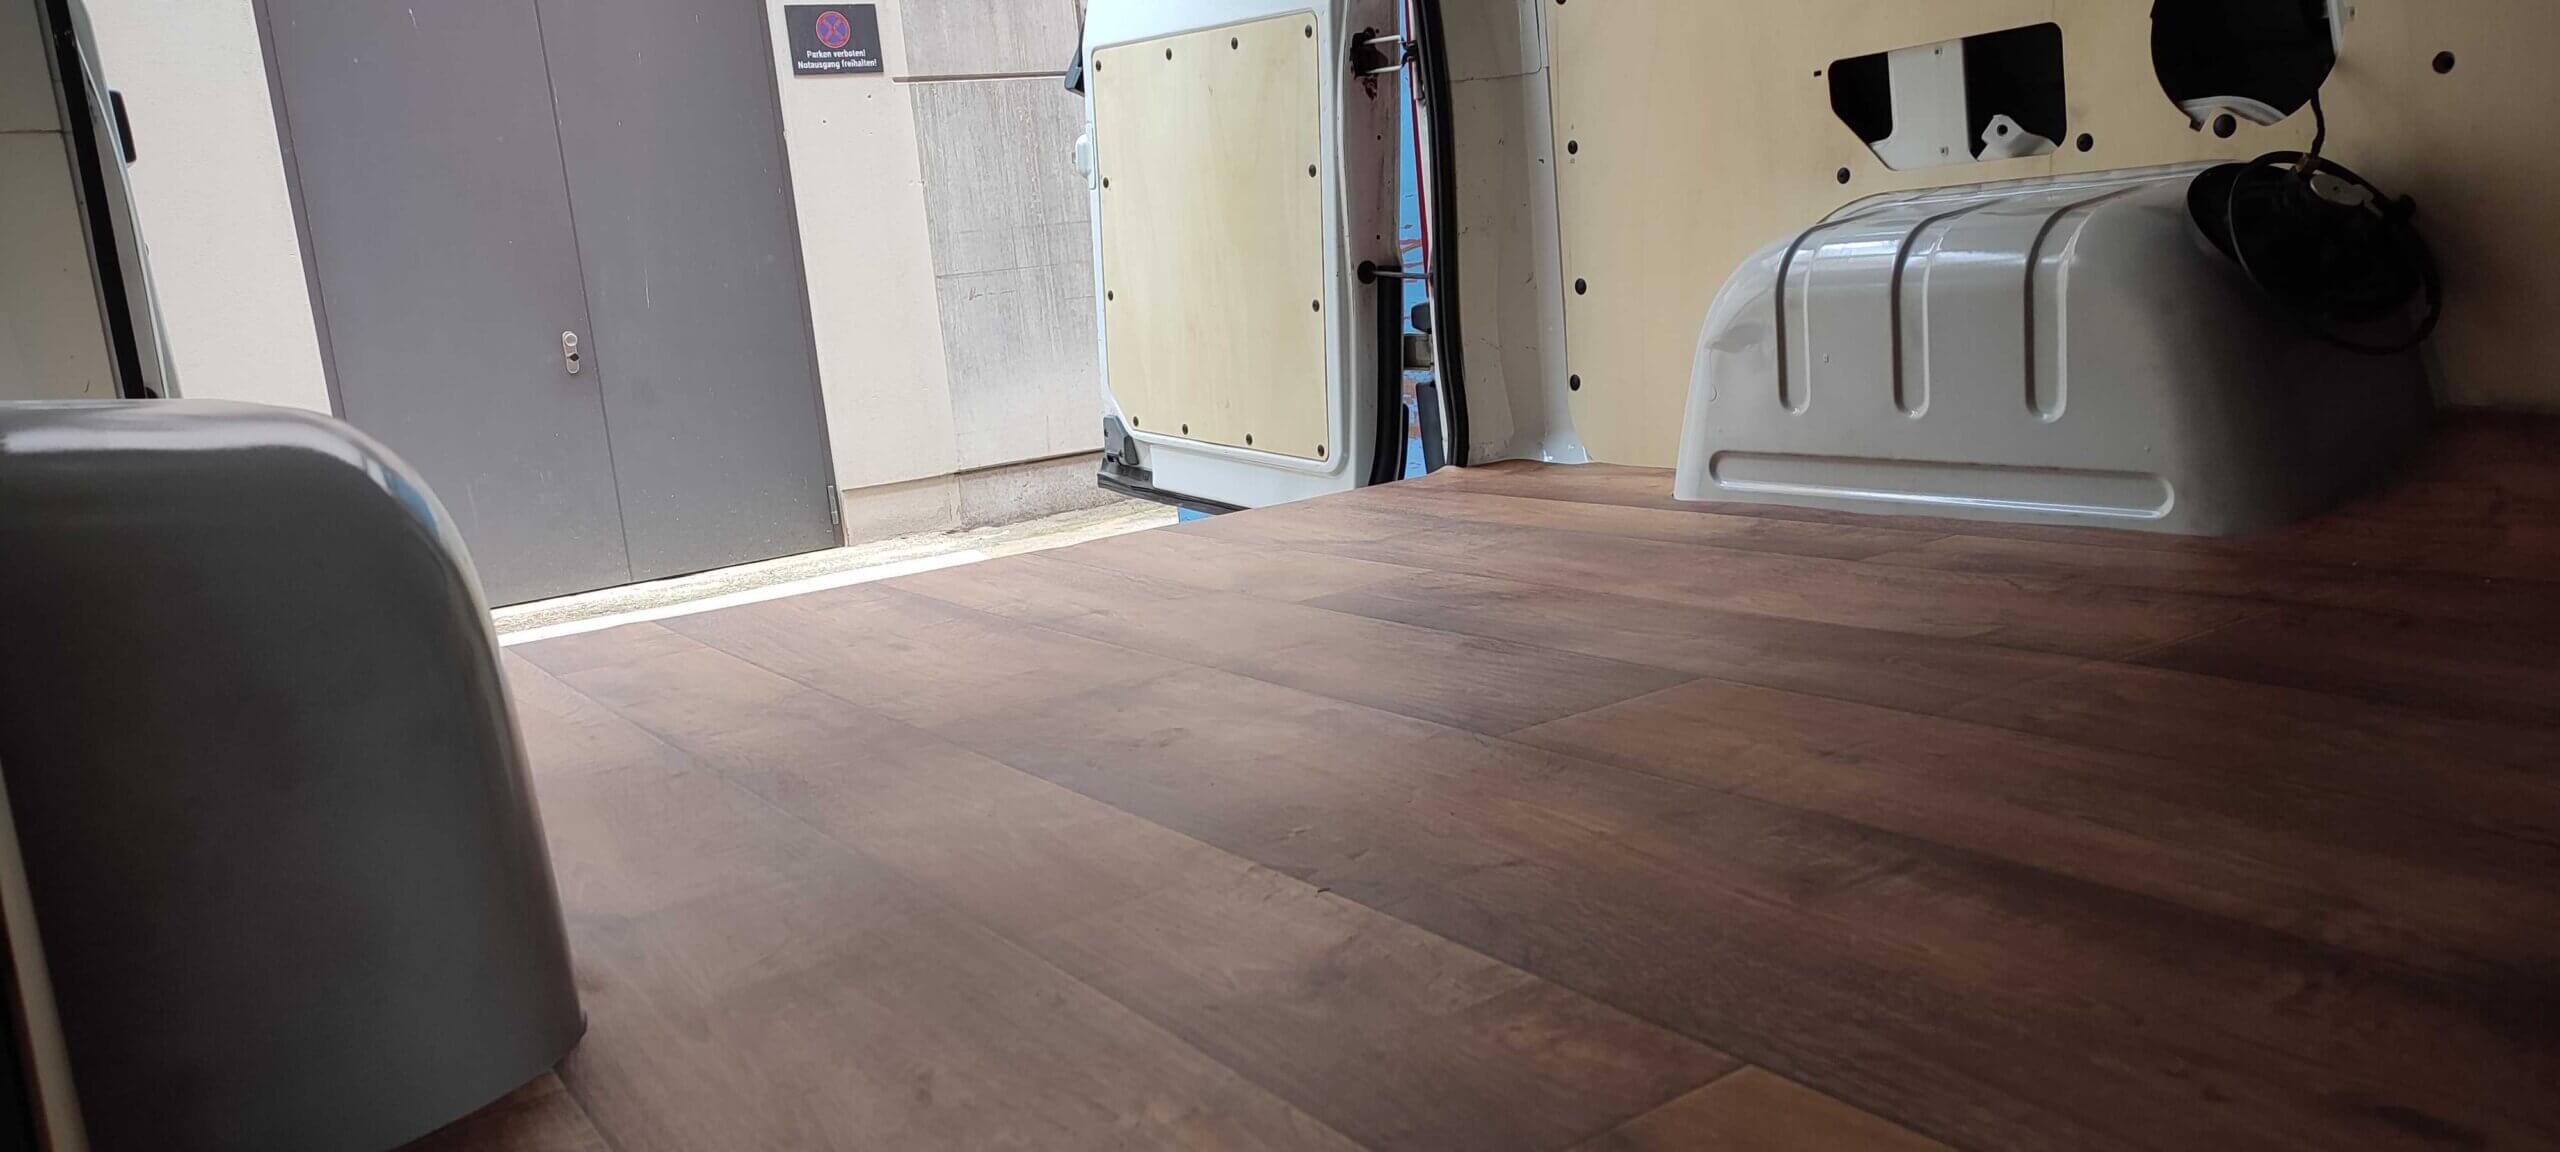
The result was great. I am very pleased with both the craftsmanship and the look itself. It feels good and it is also easy to clean.
Cost: about 450 EUR for the screen printing plates, PVC and double-sided tape.
Working time: 8 hours

