

First I had to insulate the roof again, but I was a pro at that by now and it went quite fast. 19mm Armaflex found a good place.
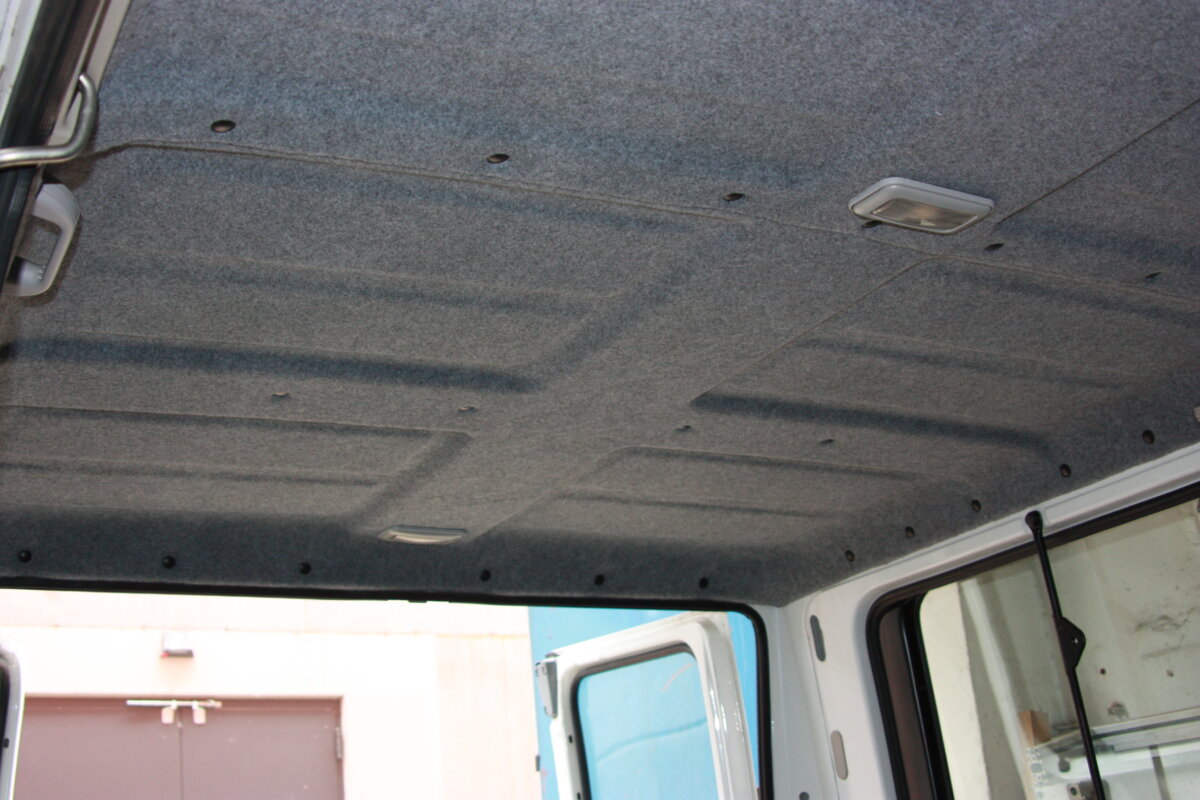
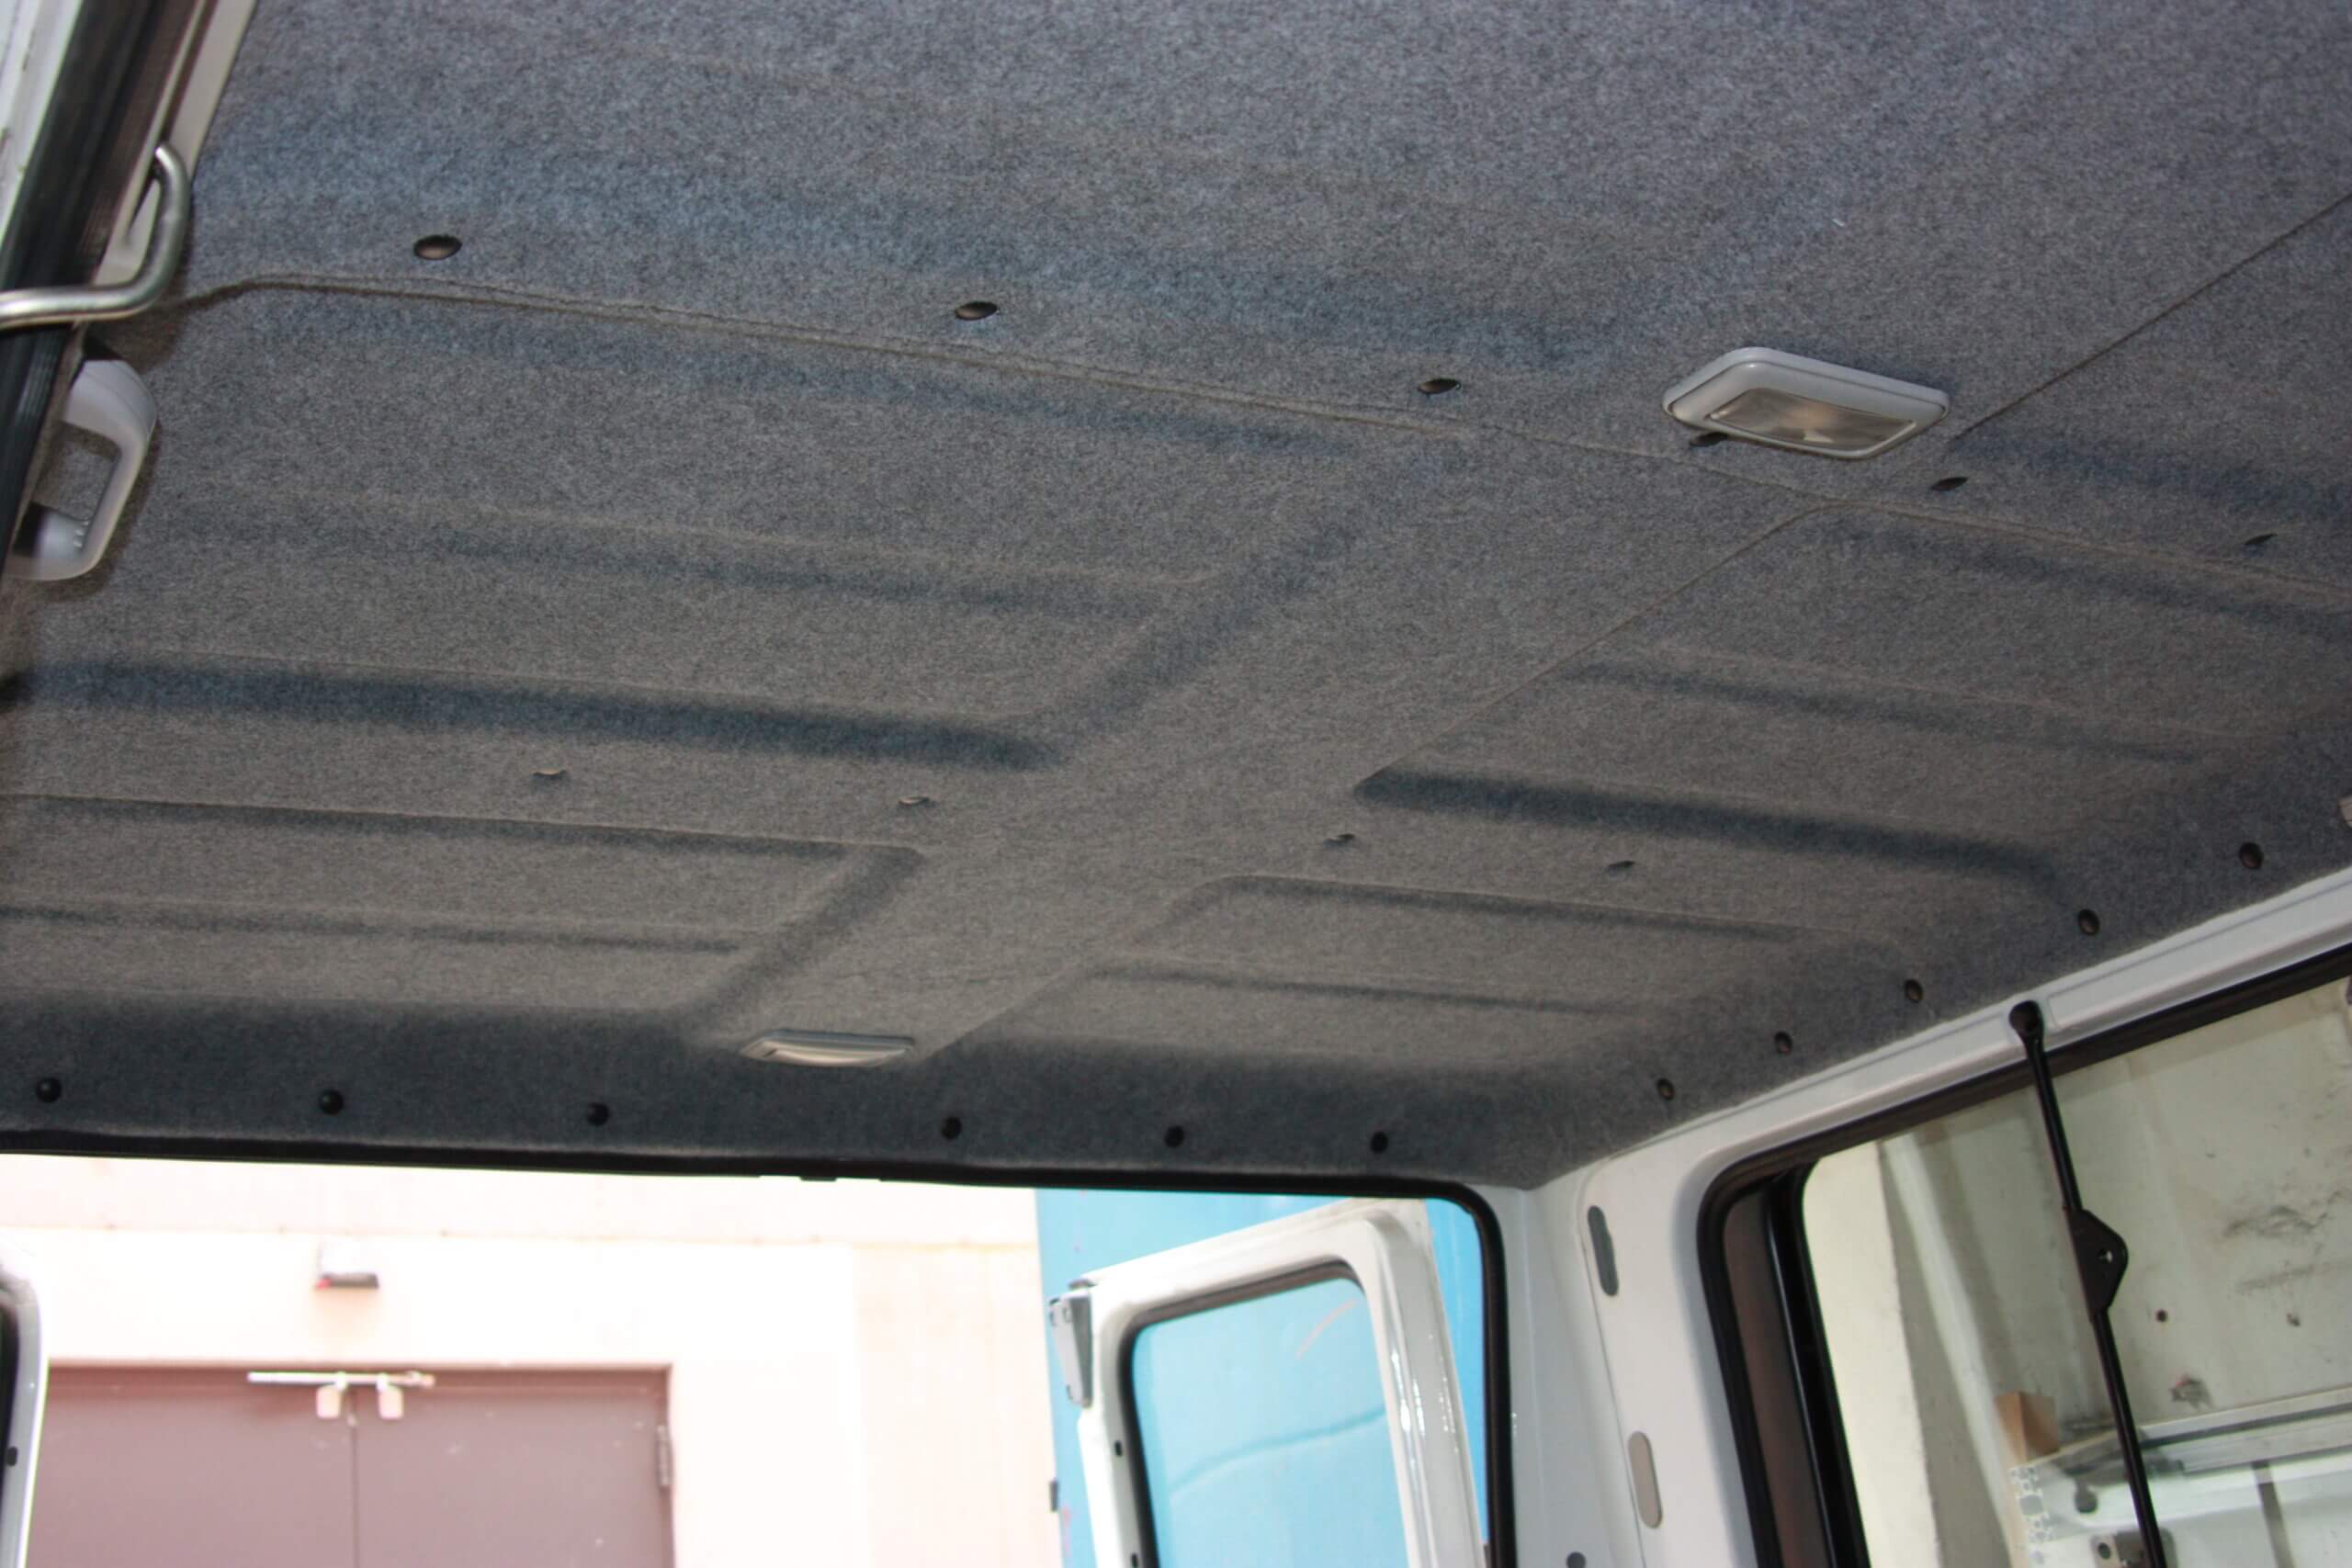
And a few weeks ago I had already covered the headliner with a nice light gray fleece, so I was really looking forward to the installation. I was very curious to see how it would look in the end.
The actual headliner consists of 3 parts, but since the individual panels are still quite large and bulky, I looked for help with the installation.
Fabian is also building out his bus with us and has grabbed there without further ado with ;D In pairs, it was also much more fun… of course, the cursing when the stupid Nubsis did not want to go in!
And that was also pretty much the only difficulty… these clips to get that they also hold. The original ones didn’t hold well…for whatever reason. They were also yellowed gray and no longer looked nice.
II then took the black ones that originally held the side trim. Since some were no longer usable, because at the pin below a kind of fir tree was attached and there some “branches” are broken off when making out. But in the side panel were about 100 pieces installed and that was now for the sky more than enough. So many clips were not needed.
The before and after effect is huge! A world of difference to what was installed… fluffy, cuddly and nice and clean again.
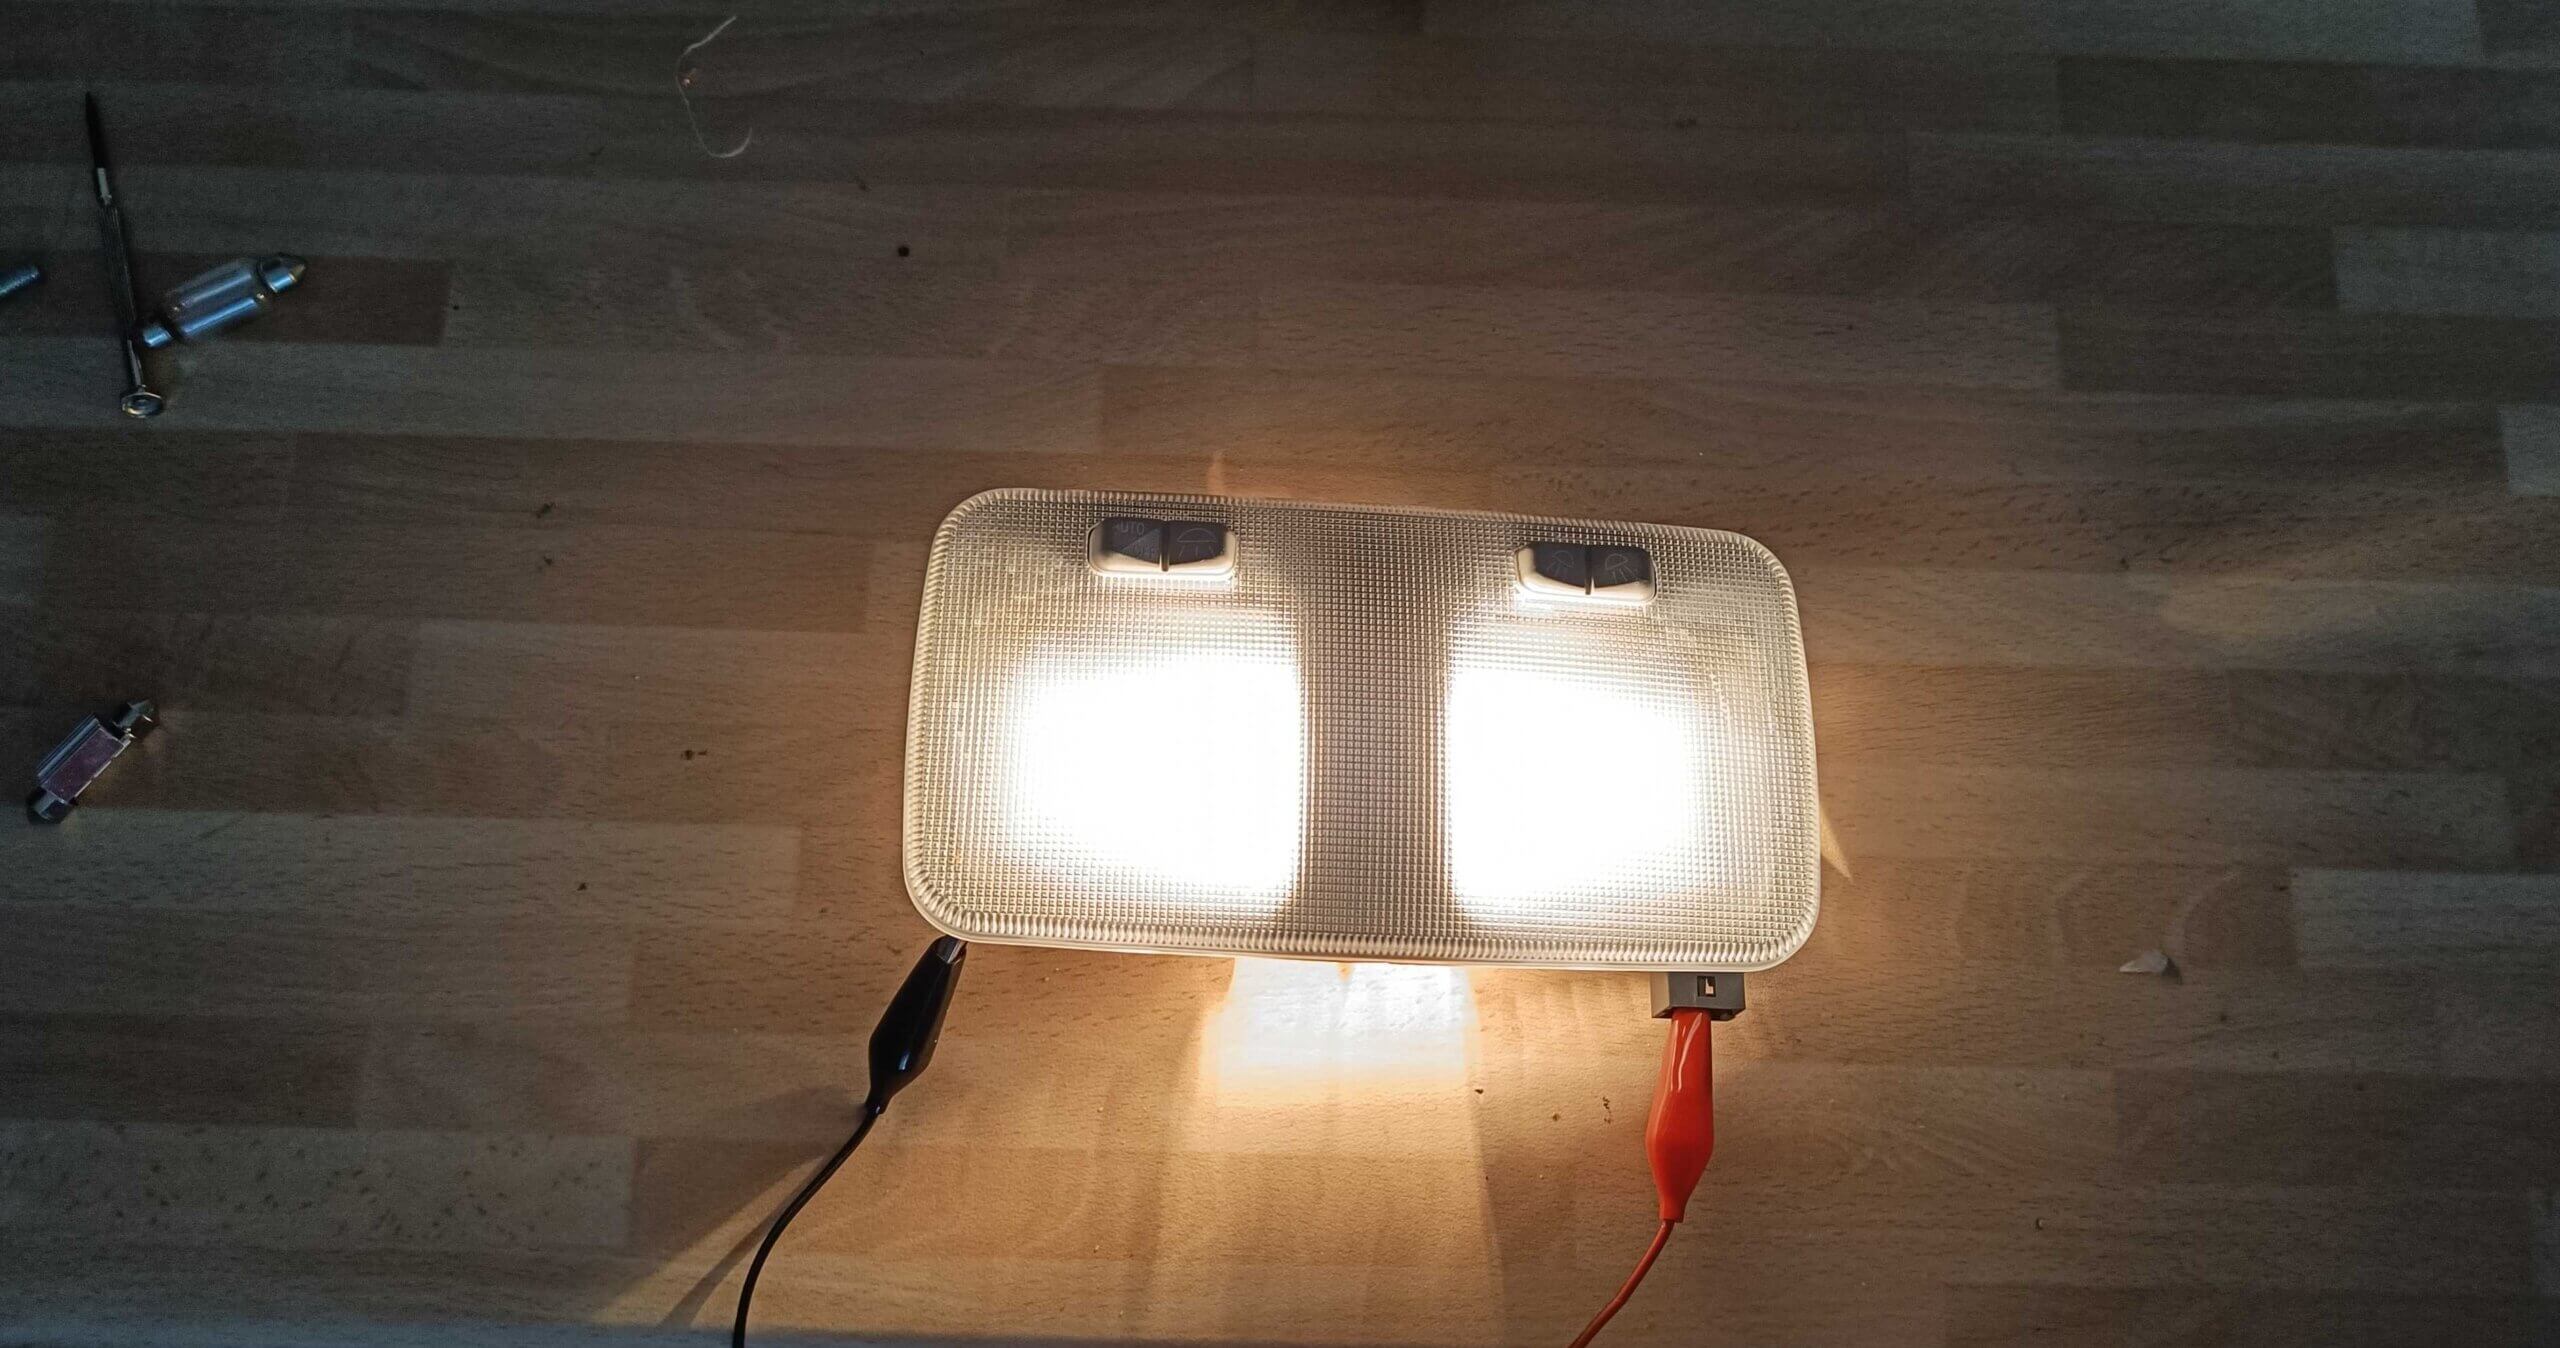
And then I changed the lights to LEDs… with the help of Arco. You probably know him from our electronics workshop. He does laser work and repairs there every thursday ;D
Anyway… you can open the lamps, take out the bulb and then change them with LEDs.
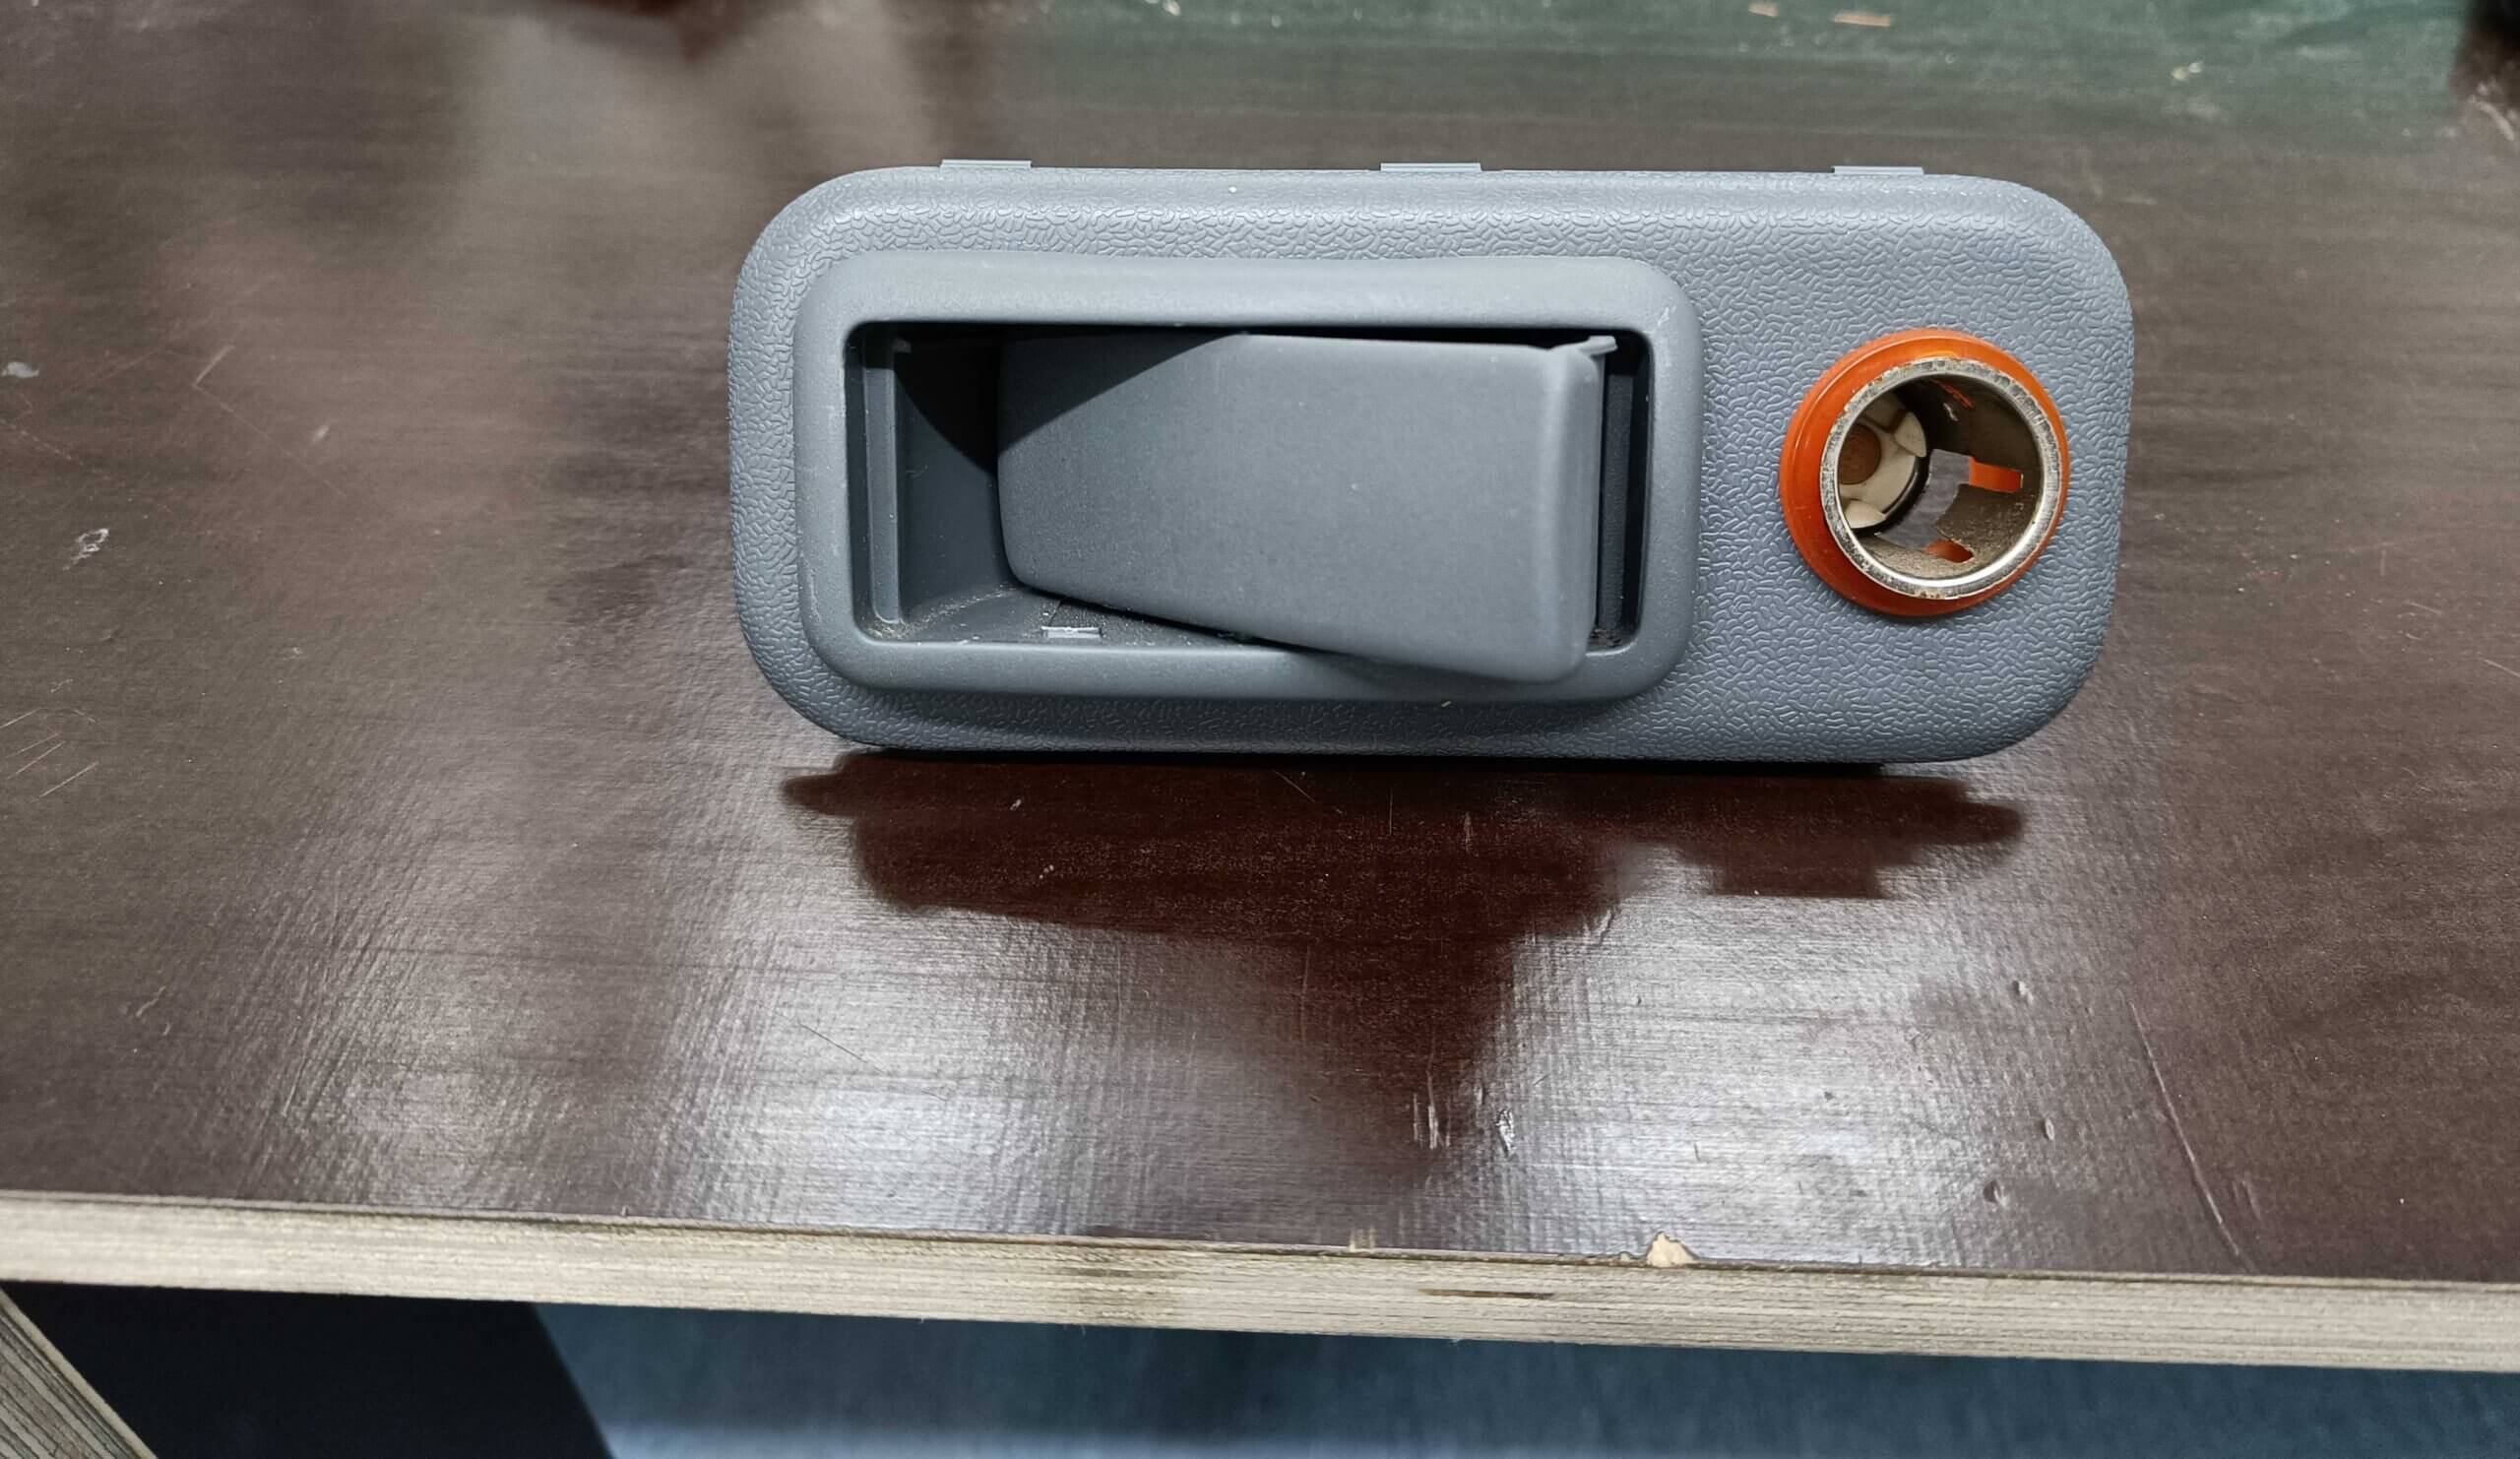
The cigarette lighter also got a USB charging port for the cell phone. Tiptop!
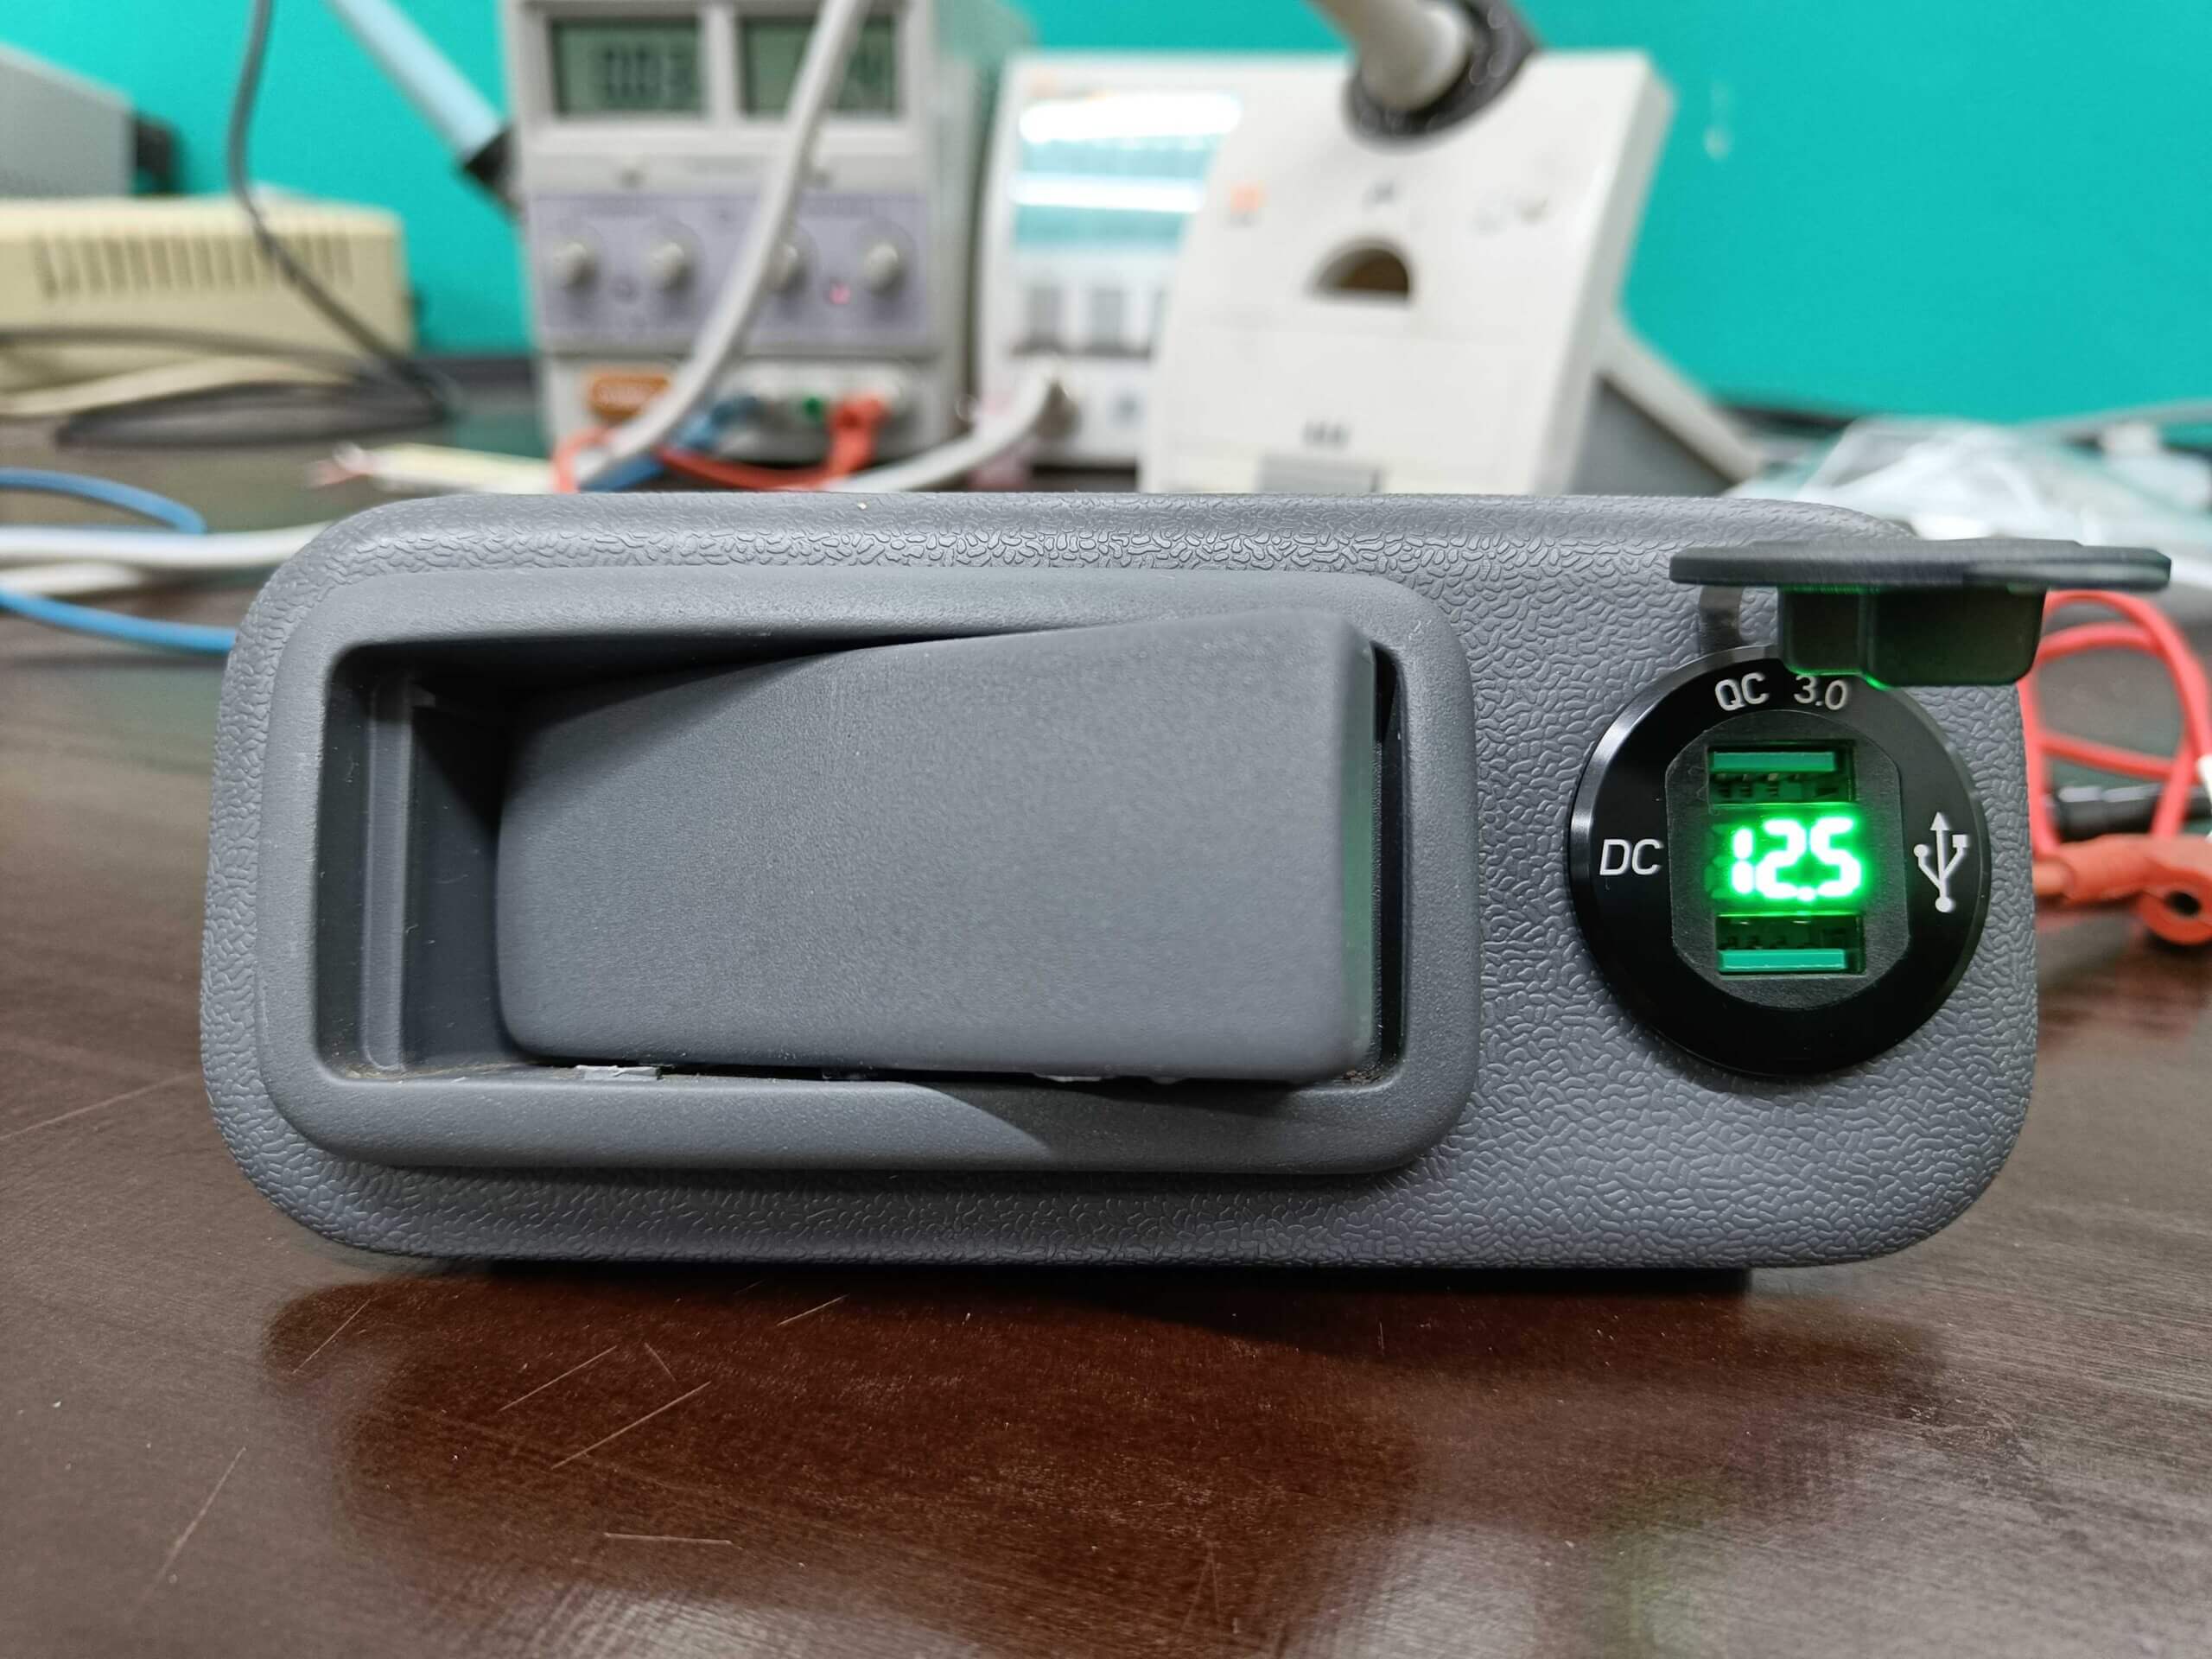
Costs: Insulation 70 EUR, LEDs and USB 2 charging ports 25 EUR
Working time: 3 hours

