


The original side panels were quite down and broken. First I wanted to leave them as they were, because I put furniture in front of most of the sides anyway, but then I changed my mind and wanted to replace them. If I already make the work with the van, then the few hours should also still be in it.

So off I went ;D
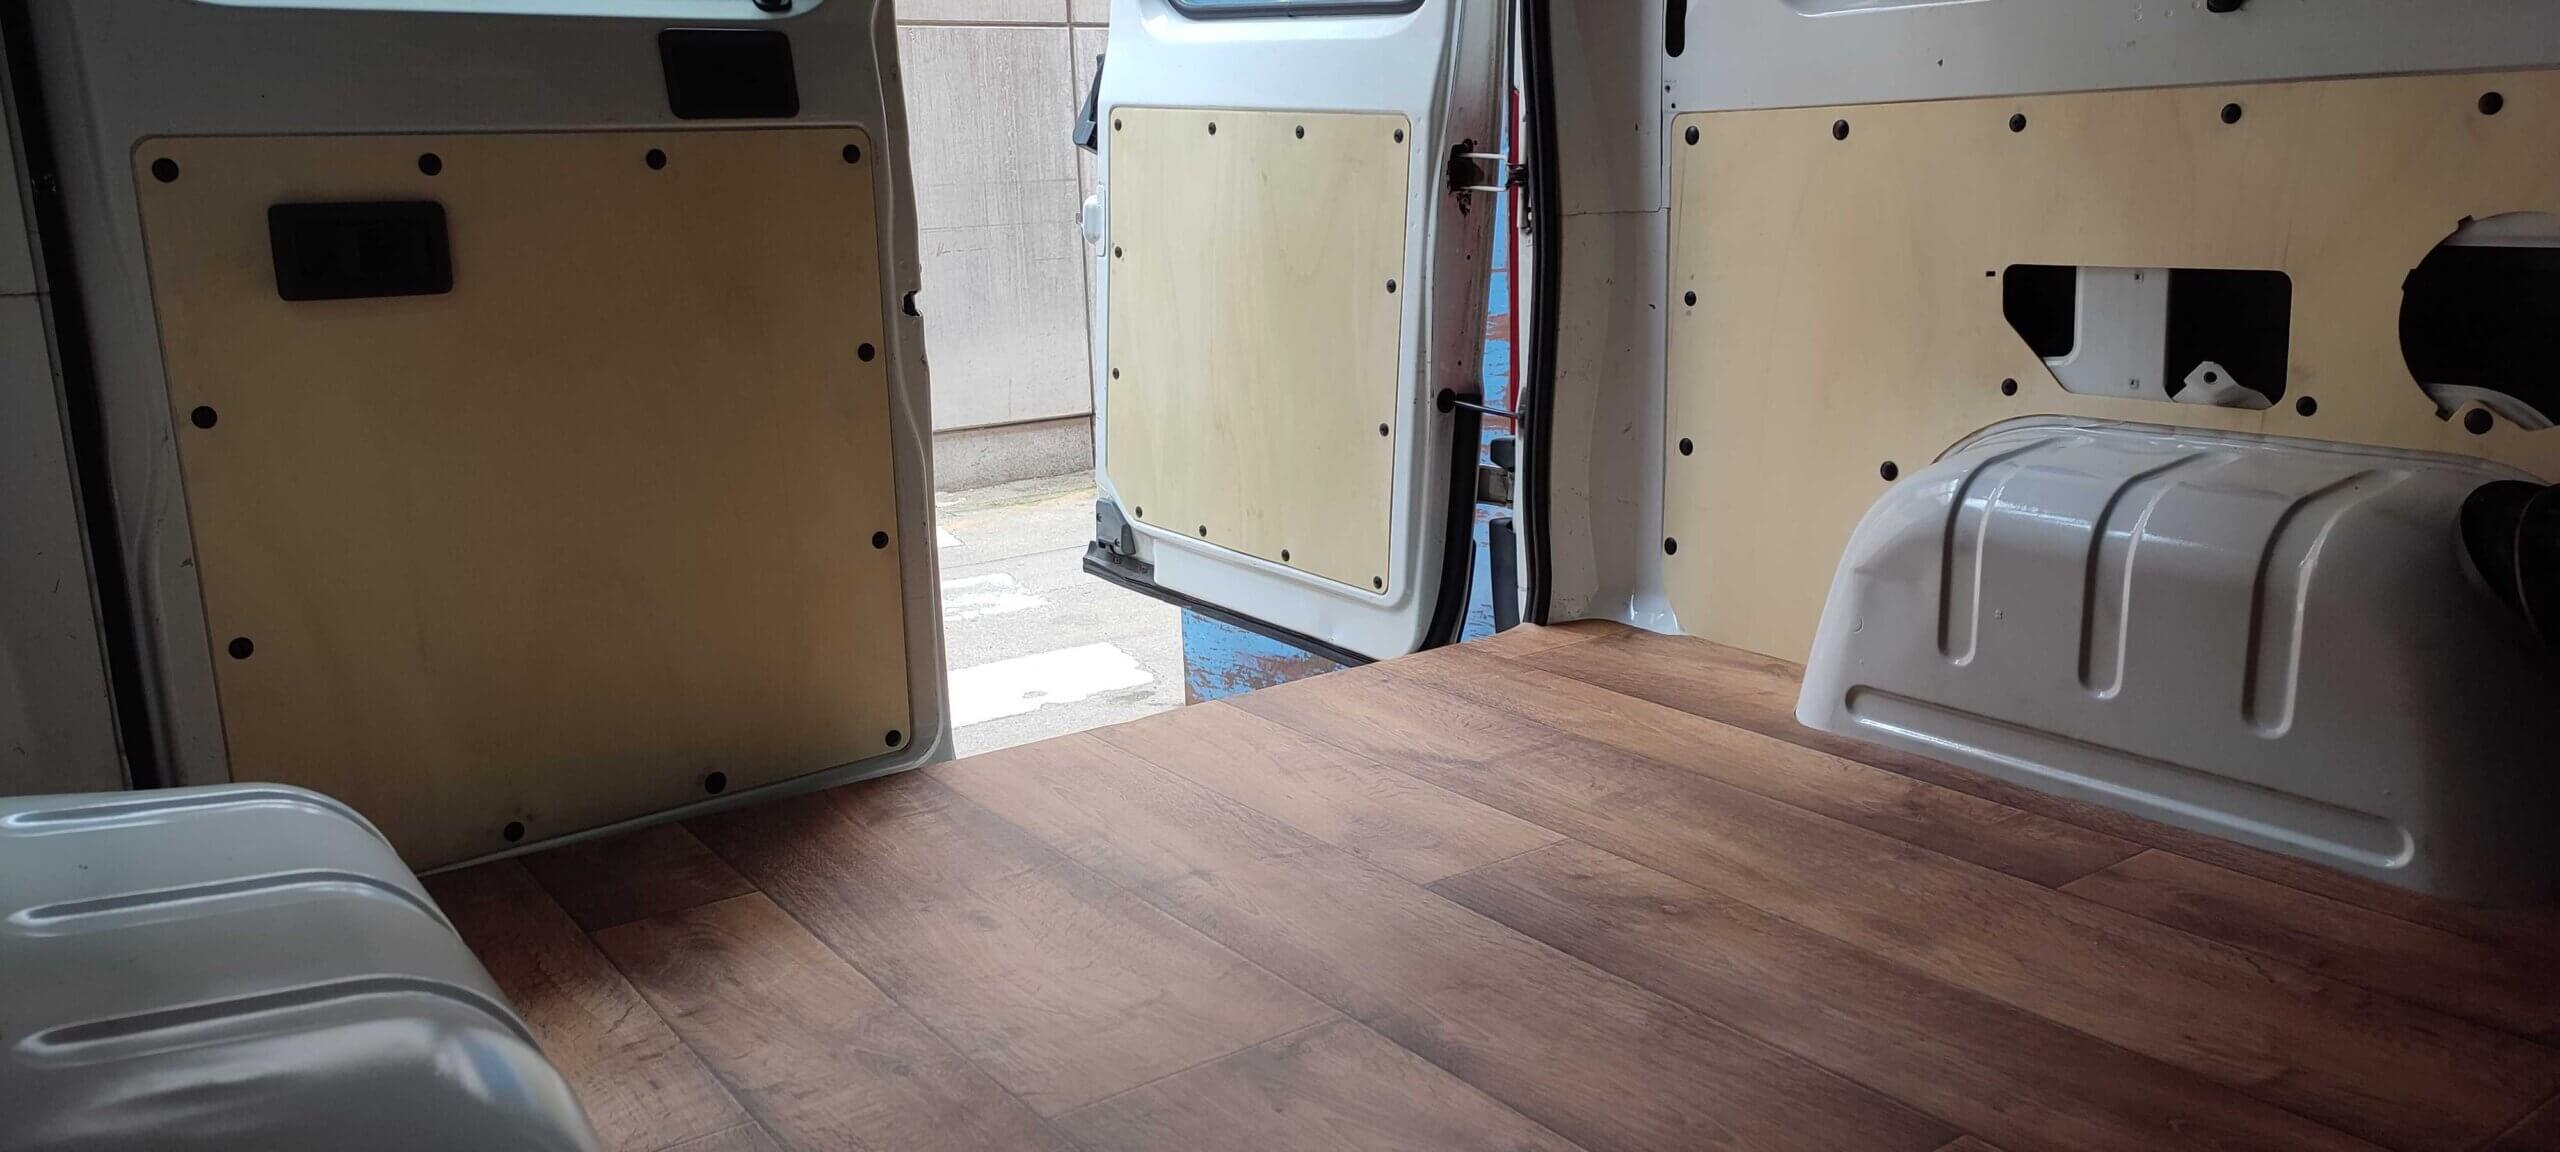
I bought two sheets of poplar plywood with 2,80m x 2,07m and with a thickness of 4mm. The old panels were perfect templates, so I roughly sawed the plywood panels on the circular saw and then transferred everything.

I made the exact cuts with the circular saw, pre-cut the big curves with the jigsaw and then routed everything exactly flush again with the router.


To mark the holes exactly, I used a round dowel and a center point to make a kind of pin that fit exactly into the template holes. With this and a hammer, I got the marking exactly in the center.


Then only the holes had to be drilled, whereby one should make sure to put something underneath, a scrap wood plate for example, to avoid tearing out on the underside as much as possible.
Finally, sand them all nicely with 120 and then 180 grit sandpaper and of course I also applied two coats of oil to make the surface a bit more resistant. Done!

Cost for two sheets of plywood, two sanding pads and some oil: 50 EUR
Time needed: 10 hours

